DIY: Writing Slope Leather Installation
Back when we were building custom Unfinished Writing Slopes the client wanted to do the finish work themselves. Many times this included installing leather on the writing panels, aka flaps. Our hope is that this tutorial, based on our own experience, will help those who plan to do just that. Also see this ▸ Image TutorialPrep the Surfaces: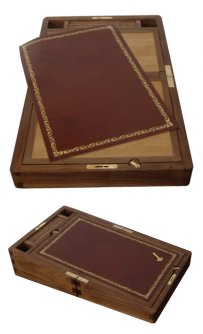 NOTE: Assuming the you have already finished the box to your satisfaction, you are now ready to apply the leather. We think it is a good idea to seal the wood panel surfaces prior to leather installation. NOTE: Assuming the you have already finished the box to your satisfaction, you are now ready to apply the leather. We think it is a good idea to seal the wood panel surfaces prior to leather installation.
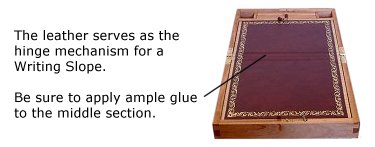
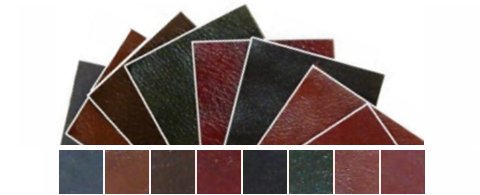
The surfaces (inside panels) of your Writing Slope have been pre-sanded. You will notice that when you get ready to install the leather, we have recessed in the area where the leather will be glued down. When ordering leather, we measure the 'inside' of this recessed area. Keep in mind that the leather stretches a bit, so we would always order a leather that is slightly smaller (about 1/16") than what we actually needed. 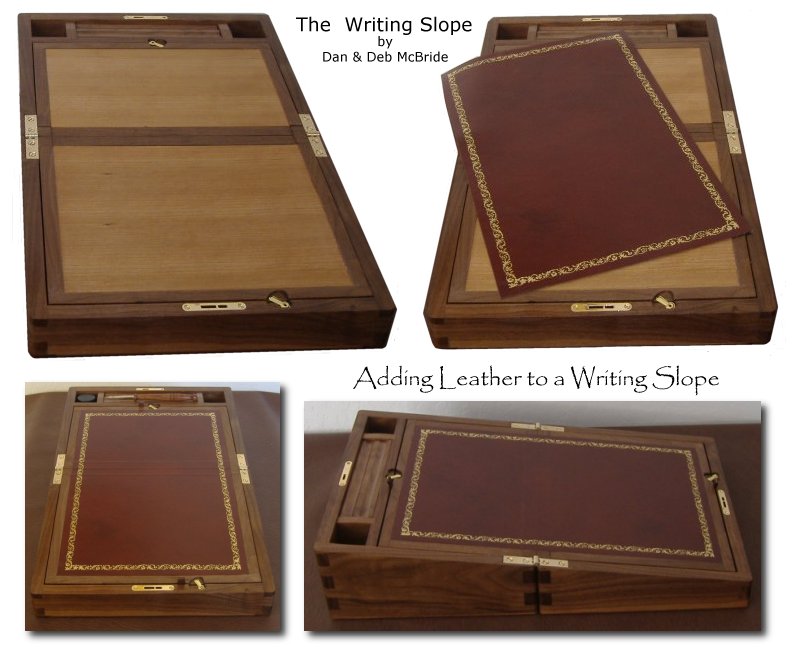 |
Using Shims to Tighten and Center the Panels: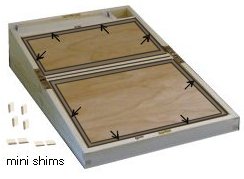 While the Writing Slope is laying out flat, use mini wood shims, perhaps toothpicks, matchbooks, cardboard (anything you can use as spacers), and insert these spacers down in between the 'panels' and the 'sides' of the box. Place shims or spacers on each side, at the top and at the bottom of the panels. Be sure the panels are tight in the center. While the Writing Slope is laying out flat, use mini wood shims, perhaps toothpicks, matchbooks, cardboard (anything you can use as spacers), and insert these spacers down in between the 'panels' and the 'sides' of the box. Place shims or spacers on each side, at the top and at the bottom of the panels. Be sure the panels are tight in the center. |
Apply the Wallpaper Glue: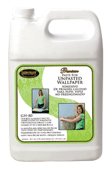  You will need to purchase "Unpasted Wallpaper Glue" (we use "Roman's Golden Harvest GH-80"). For easier application use water on the back side of the leather. This helps the glue adhere to the leather. You can either spray the surface with water or use a wet rag to moisten the back. You will need to purchase "Unpasted Wallpaper Glue" (we use "Roman's Golden Harvest GH-80"). For easier application use water on the back side of the leather. This helps the glue adhere to the leather. You can either spray the surface with water or use a wet rag to moisten the back.
Apply the glue evenly to the wood panels using a course brush or comb-edge tool. 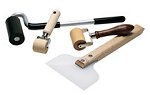 Position the leather over the panel surfaces and press from the center outward, pressing out bubbles as you go. You can use a roller or the palm of your hand. Work the leather into the corners, careful not to stretch the material too much. When all is aligned, clean edges with a wet cloth. Position the leather over the panel surfaces and press from the center outward, pressing out bubbles as you go. You can use a roller or the palm of your hand. Work the leather into the corners, careful not to stretch the material too much. When all is aligned, clean edges with a wet cloth.
Glue Set-Up Time:Allow to dry for 24 hours. Do not attempt to fold the panels back until the glue has dried completely. Once totally dried, remove shims. If any glue shows up on the back side or under the panels, it can be easily removed using warm water and a clean rag. |
 Additional Details:To make lifting the panels easier, we'd use a small piece of ribbon, folded and tacked or pinned to the edge of each panel.This ribbon only needs to be about 3/8" exposed to the top side, just enough to grip. Attach 'turn buttons' and all other hardware. |